Believe it or not I’ve come to learn that some people find the act of grilling to be intimidating. If you are among these people, then consider this your lucky day. I’m going to explain how to grill a steak from the viewpoint of a seasoned veteran (zero knowledge, zero research, lots of experience dicking around with a grill).
Let me first point out the following: It’s a common misconception that the process of grilling something takes any skill whatsoever. The first time I grilled something was probably 10 years ago and I guarantee I was just as good at it then as I was yesterday when I took these photos. I have grilled maybe 100 steaks in my career with absolutely zero consistency in methodology and every single one of them has come out tasting perfectly fine. I’d go as far to say they tasted great. AND added bonus – I am yet to get food poisoning.
I’ll be the first to admit that I suck at cooking stuff. I eat peanut butter toast for meals regularly as an adult. Tastes good, takes 2 minutes to make, and 0 minutes to clean up, especially if you use a paper plate. I think that’s very likely the reason why someone invented a grill. They probably sucked at cooking, hated cleaning, and decided that they would just blast their food with fire like a caveman instead of trying to properly cook it. So without further ado let me walk you through the general process of grilling a steak step by step.
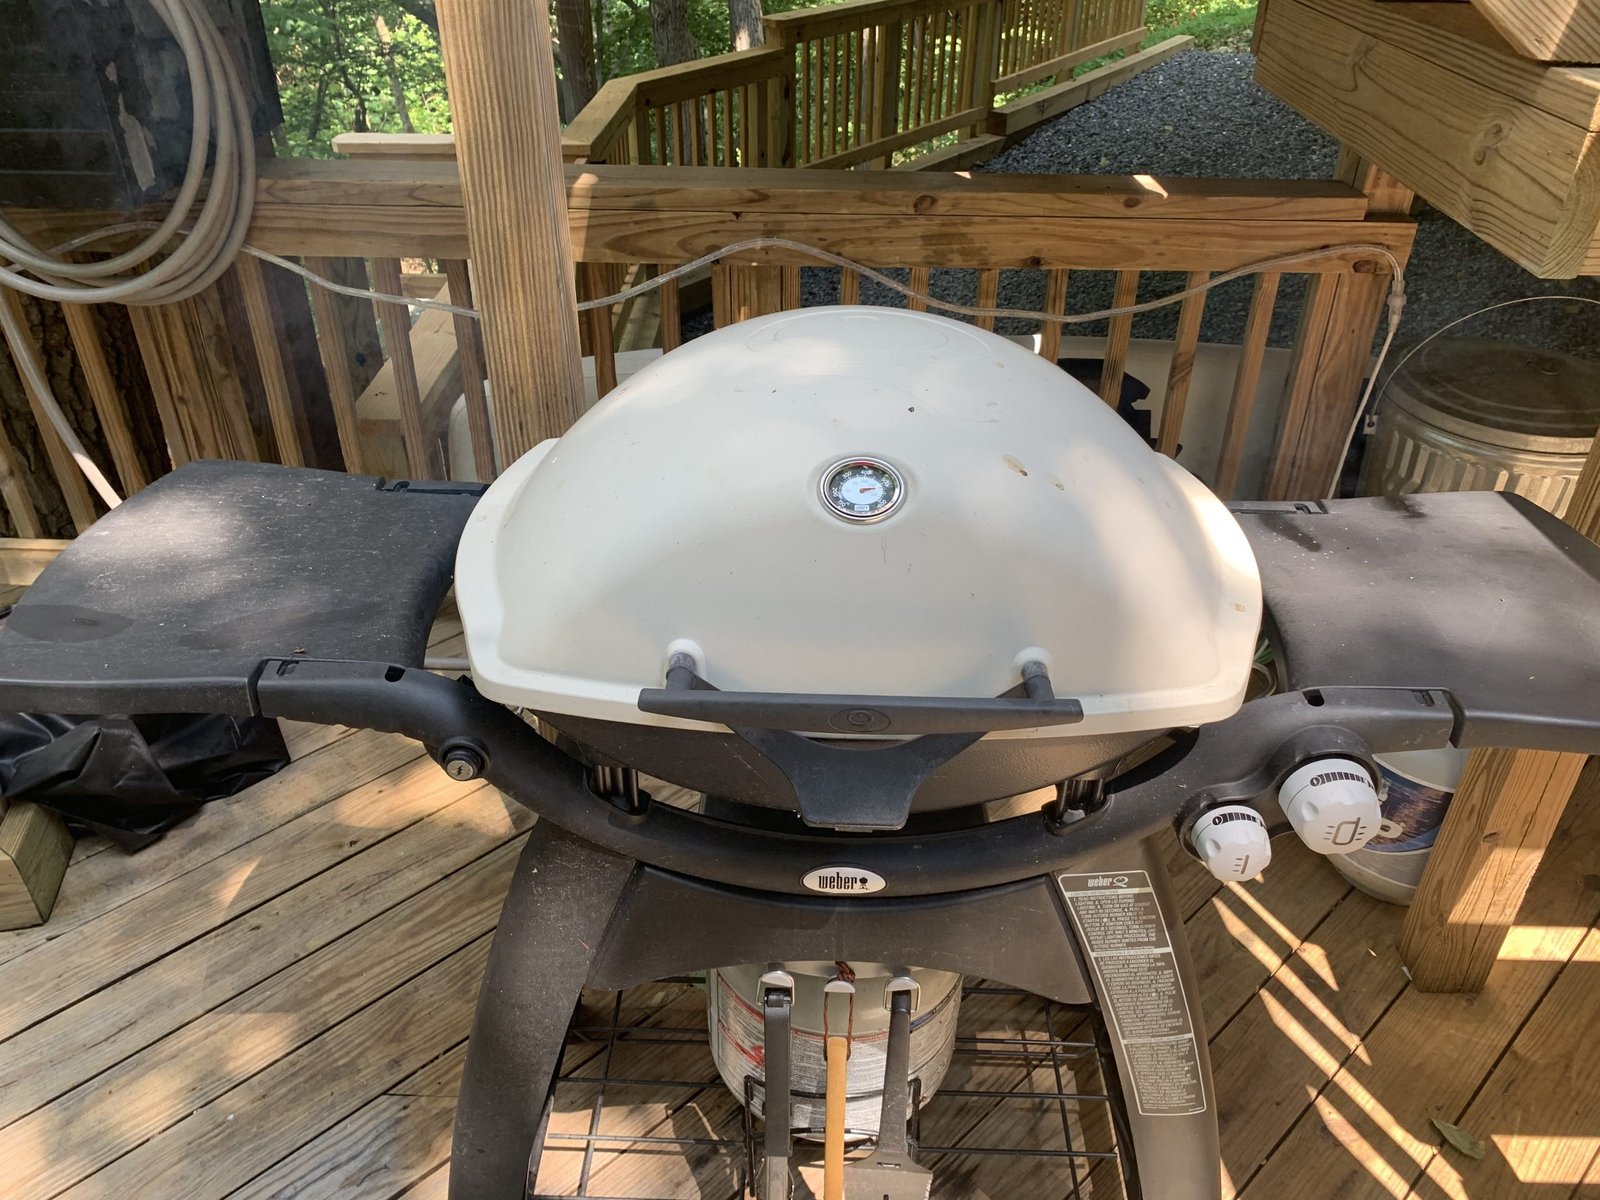
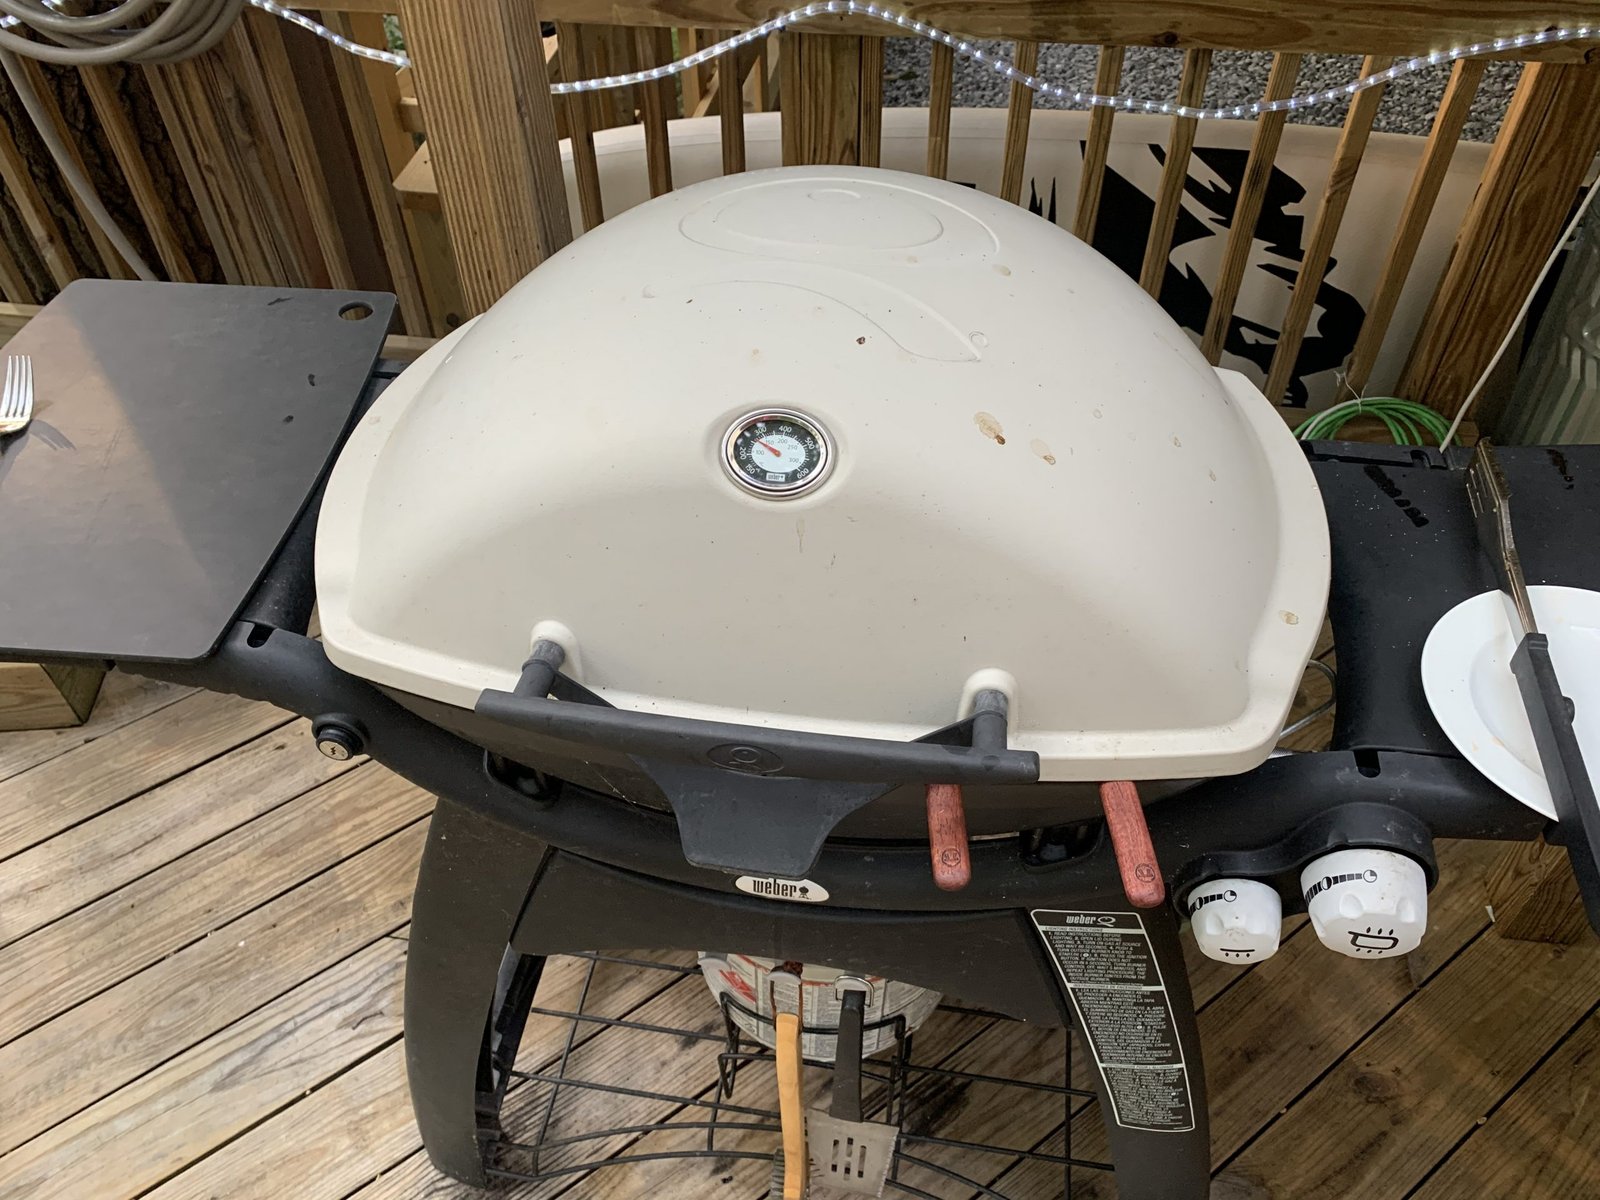
STEP 1 – Turn on the grill full throttle with the lid down
This is a key step. The last time you busted out the grill was probably a week or two ago. And when you finished up I’m sure you had a nice buzz going and said “ah I’ll clean that off later.” The good news is you weren’t technically lying because “now” is officially later and all you have to do is close down the hatch, turn that baby up all the way, and let the propane do the work.
Once you have smoke billowing out the sides and the situation feels dangerous then go ahead and open it up. Grab yourself a wire brush and quickly knock off the loose charcoal looking stuff that is actually meat remnants from your last session. I actually prefer cleaning my grill with this method because it lets the flavor from the remnants absorb into the grates. Preserves the flavor. Kinda like that scene from Meet the Parents where Ben Stillers mom says she has never washed her cooking pan.
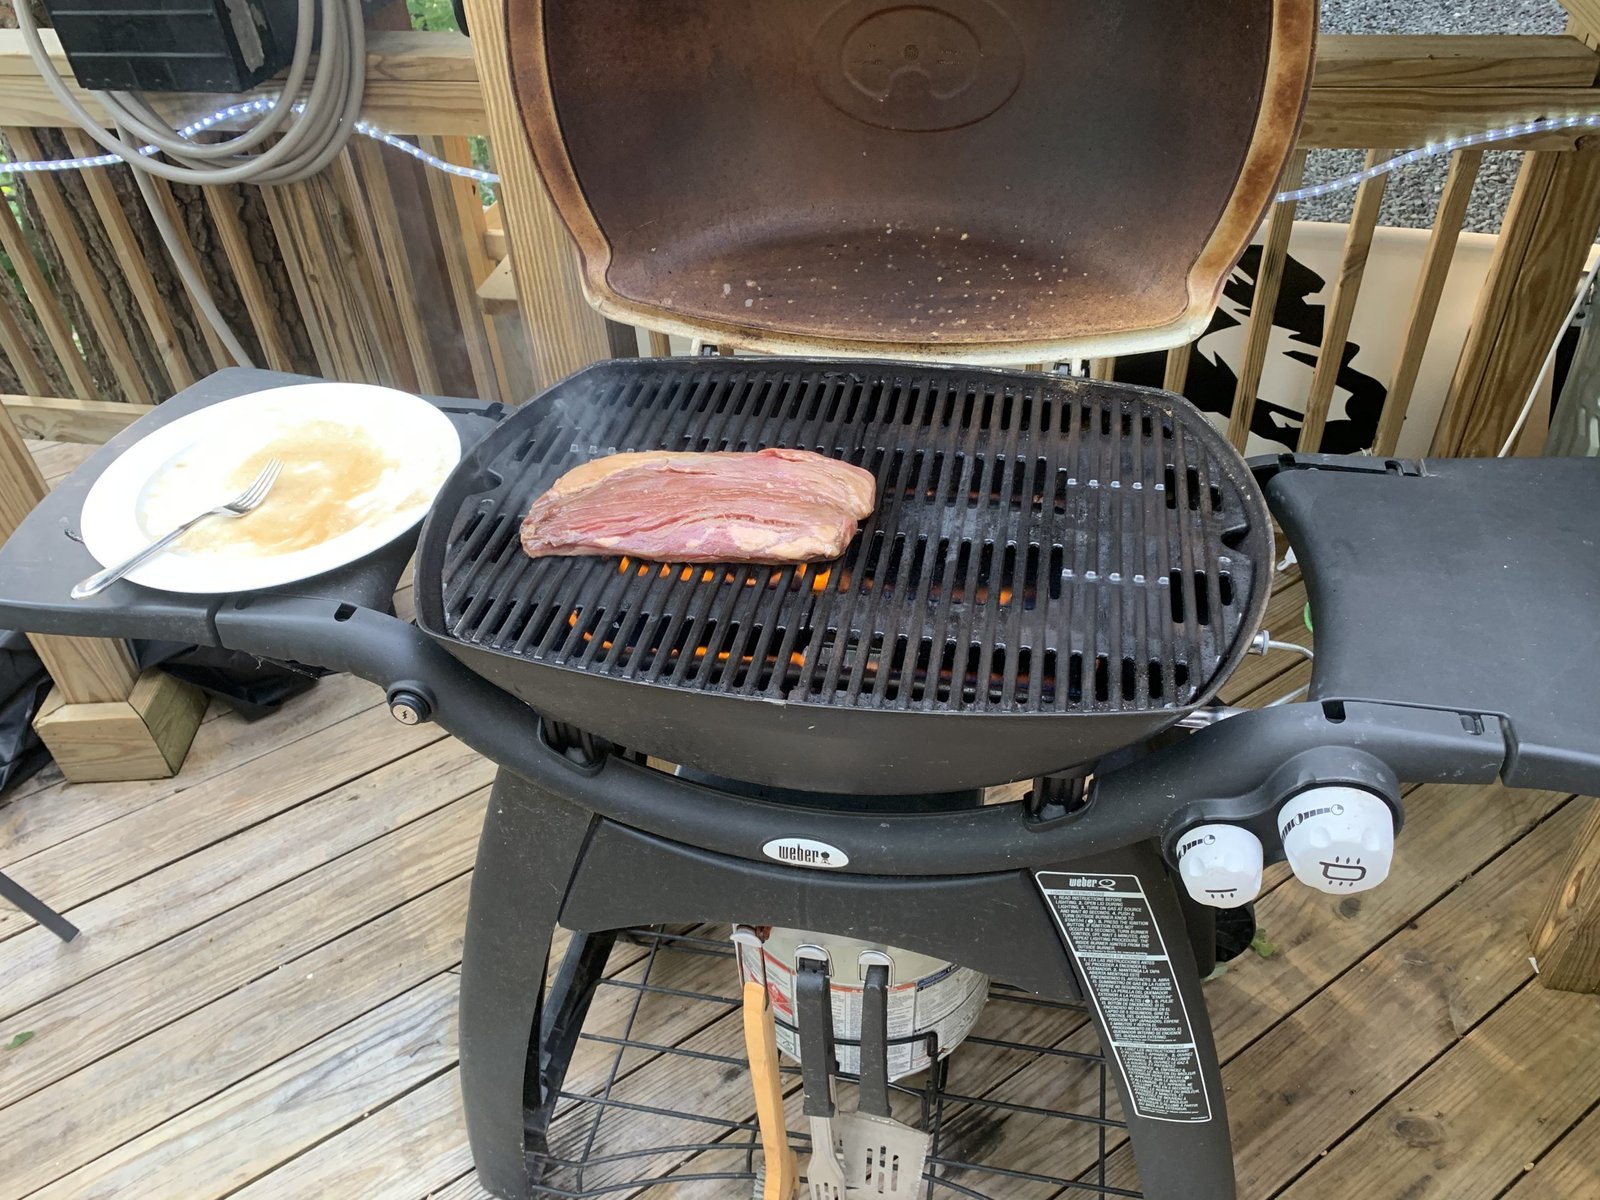
STEP 2 – Toss the steak on
I guess I should mention that you probably want to marinate the steak for a few hours and then leave it out on the counter to let it get to slightly below room temp before you begin. So I’m going to continue on as if you did that stuff. But if you didn’t – it really doesn’t matter. Just chuck some seasoning on it while you grill and cook it for a little longer than I tell you to in all the steps below. Trust me I’ve made the mistake of forgetting these steps as well as all of the other steps I’m going to mention on several occasions and I’m assuring you – the end result will be a perfectly good steak.
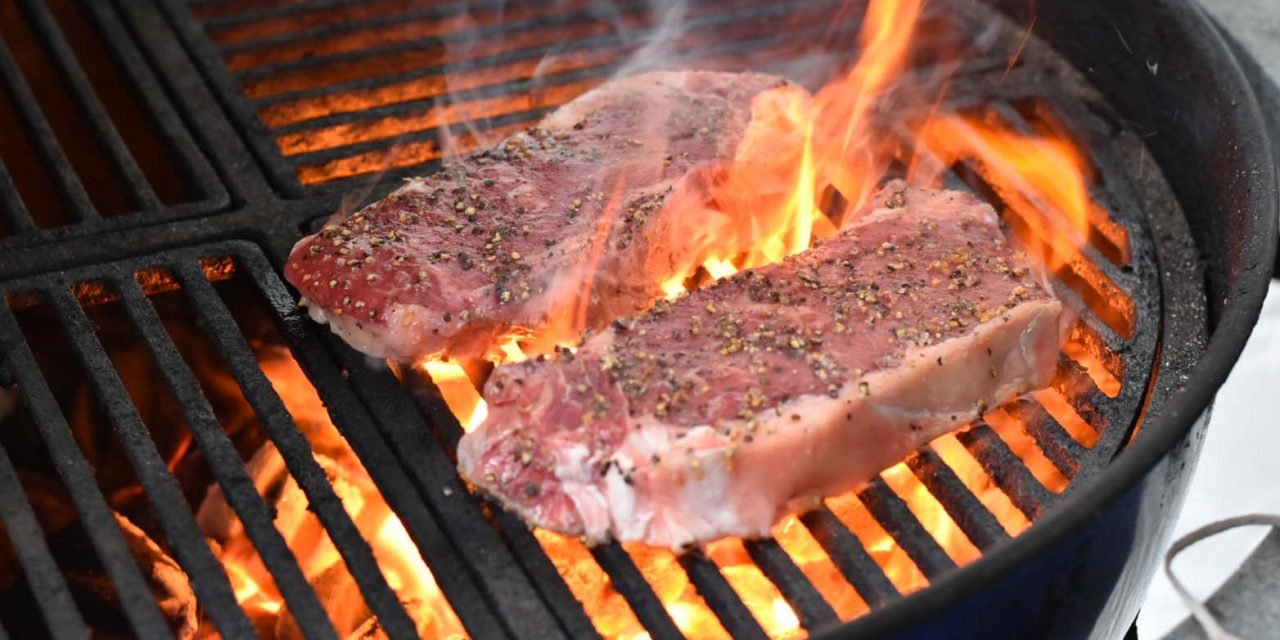
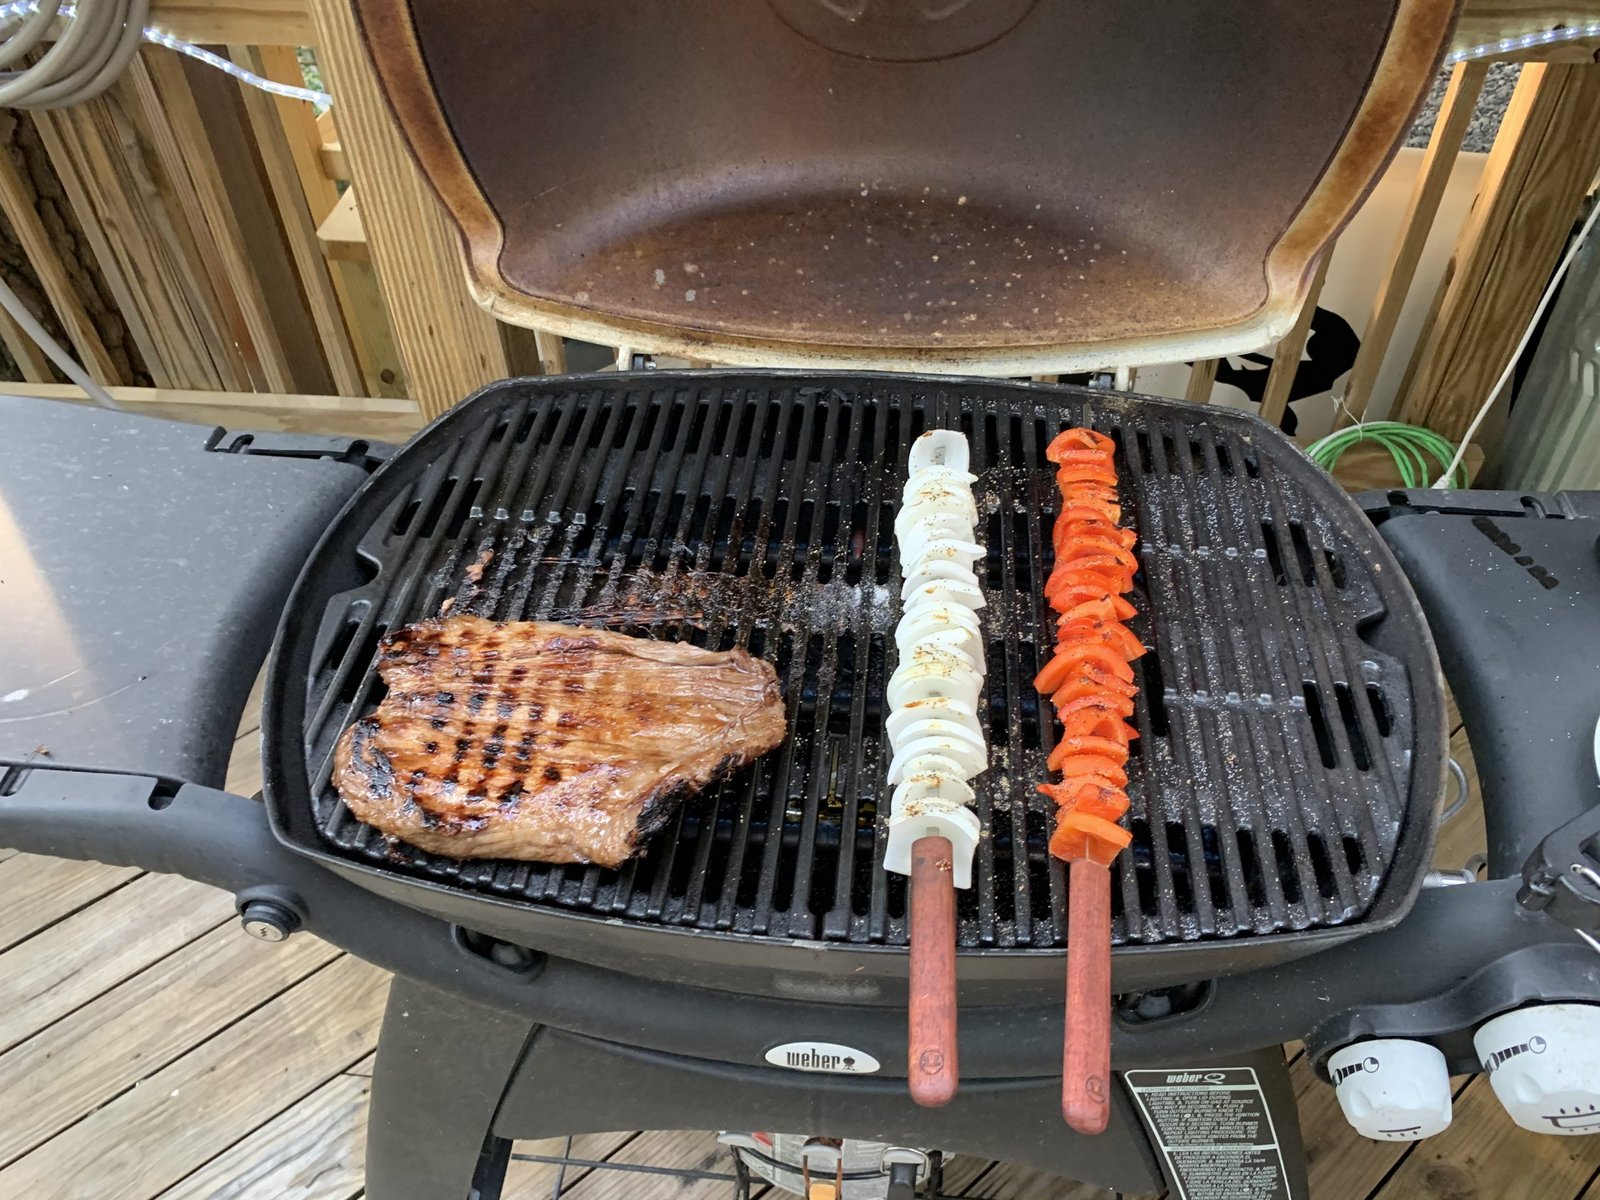
Make sure to let the temp of the grill come down a little bit from the full blast setting used during the cleaning step. Basically I just open up the grill for like 60 seconds and turn down the dials to the medium setting. I assume this puts it somewhere in the high to medium-high range. Then toss the steak on there. This is the searing step. The good news is that in my years of experience I have found that it literally does not matter how long you do this step. All I know is that you want the grates to be hot and you want to sort of burn the skin and cook the outer part of the steak. Let’s just say do this for 4 minutes for the sake of saying something.
STEP 3 – Flip that bad boy over
We’re still in the searing step. Decent chance I skipped a step where you are supposed to spray the grill with some non-stick because I usually enter an all out war to get the steak flipped over. For this step you want to keep the grill on high to medium high while you cook the outer part on this side of the steak. So lets say do this for 4 more minutes.
STEP 4 – Flip it back over to start the cooking phase
If Guy Fieri was dead he’d be rolling over in his grave right now. “You’re gonna flip it again!??” Yep. Doesn’t matter. Flip it over 100 times. Toss it in the air like pizza dough. It’s a dead piece of meat, it doesn’t have the cognitive ability to ruin itself because you touched it too many times.
Anyways, this is where I usually flip it back over to the first side and turn down the temp to the medium-low range. This is where you want to stop burning the skin and start cooking the inside of the steak. As you can see someone even handed me some veggies to put on the grill. Disregard those. They are not important to the operation.
STEP 5 – Close the lid during the cooking phase
This is really the experiemental step of the grilling process. This is where you try out some new shit. Close the lid for a while and then open it back up. Pour a sip of your beer on the steak and watch it sizzle. Any time you start to get nervous just remind yourself of the golden rule. IT DOES NOT MATTER WHAT YOU DO. IT’S GOING TO TURN OUT GREAT.
Cook it at this medium low temp with the lid closed for another 4 minutes. Feel free to open it up and admire your work from time to time though.

STEP 6 – The final flip
The home stretch. Just do step 5 again on the other side of the steak. Do a visual assessment to make sure you haven’t missed cooking any outside portion of the steak. If so just put that rare-looking part down on the grates and give it some high heat.
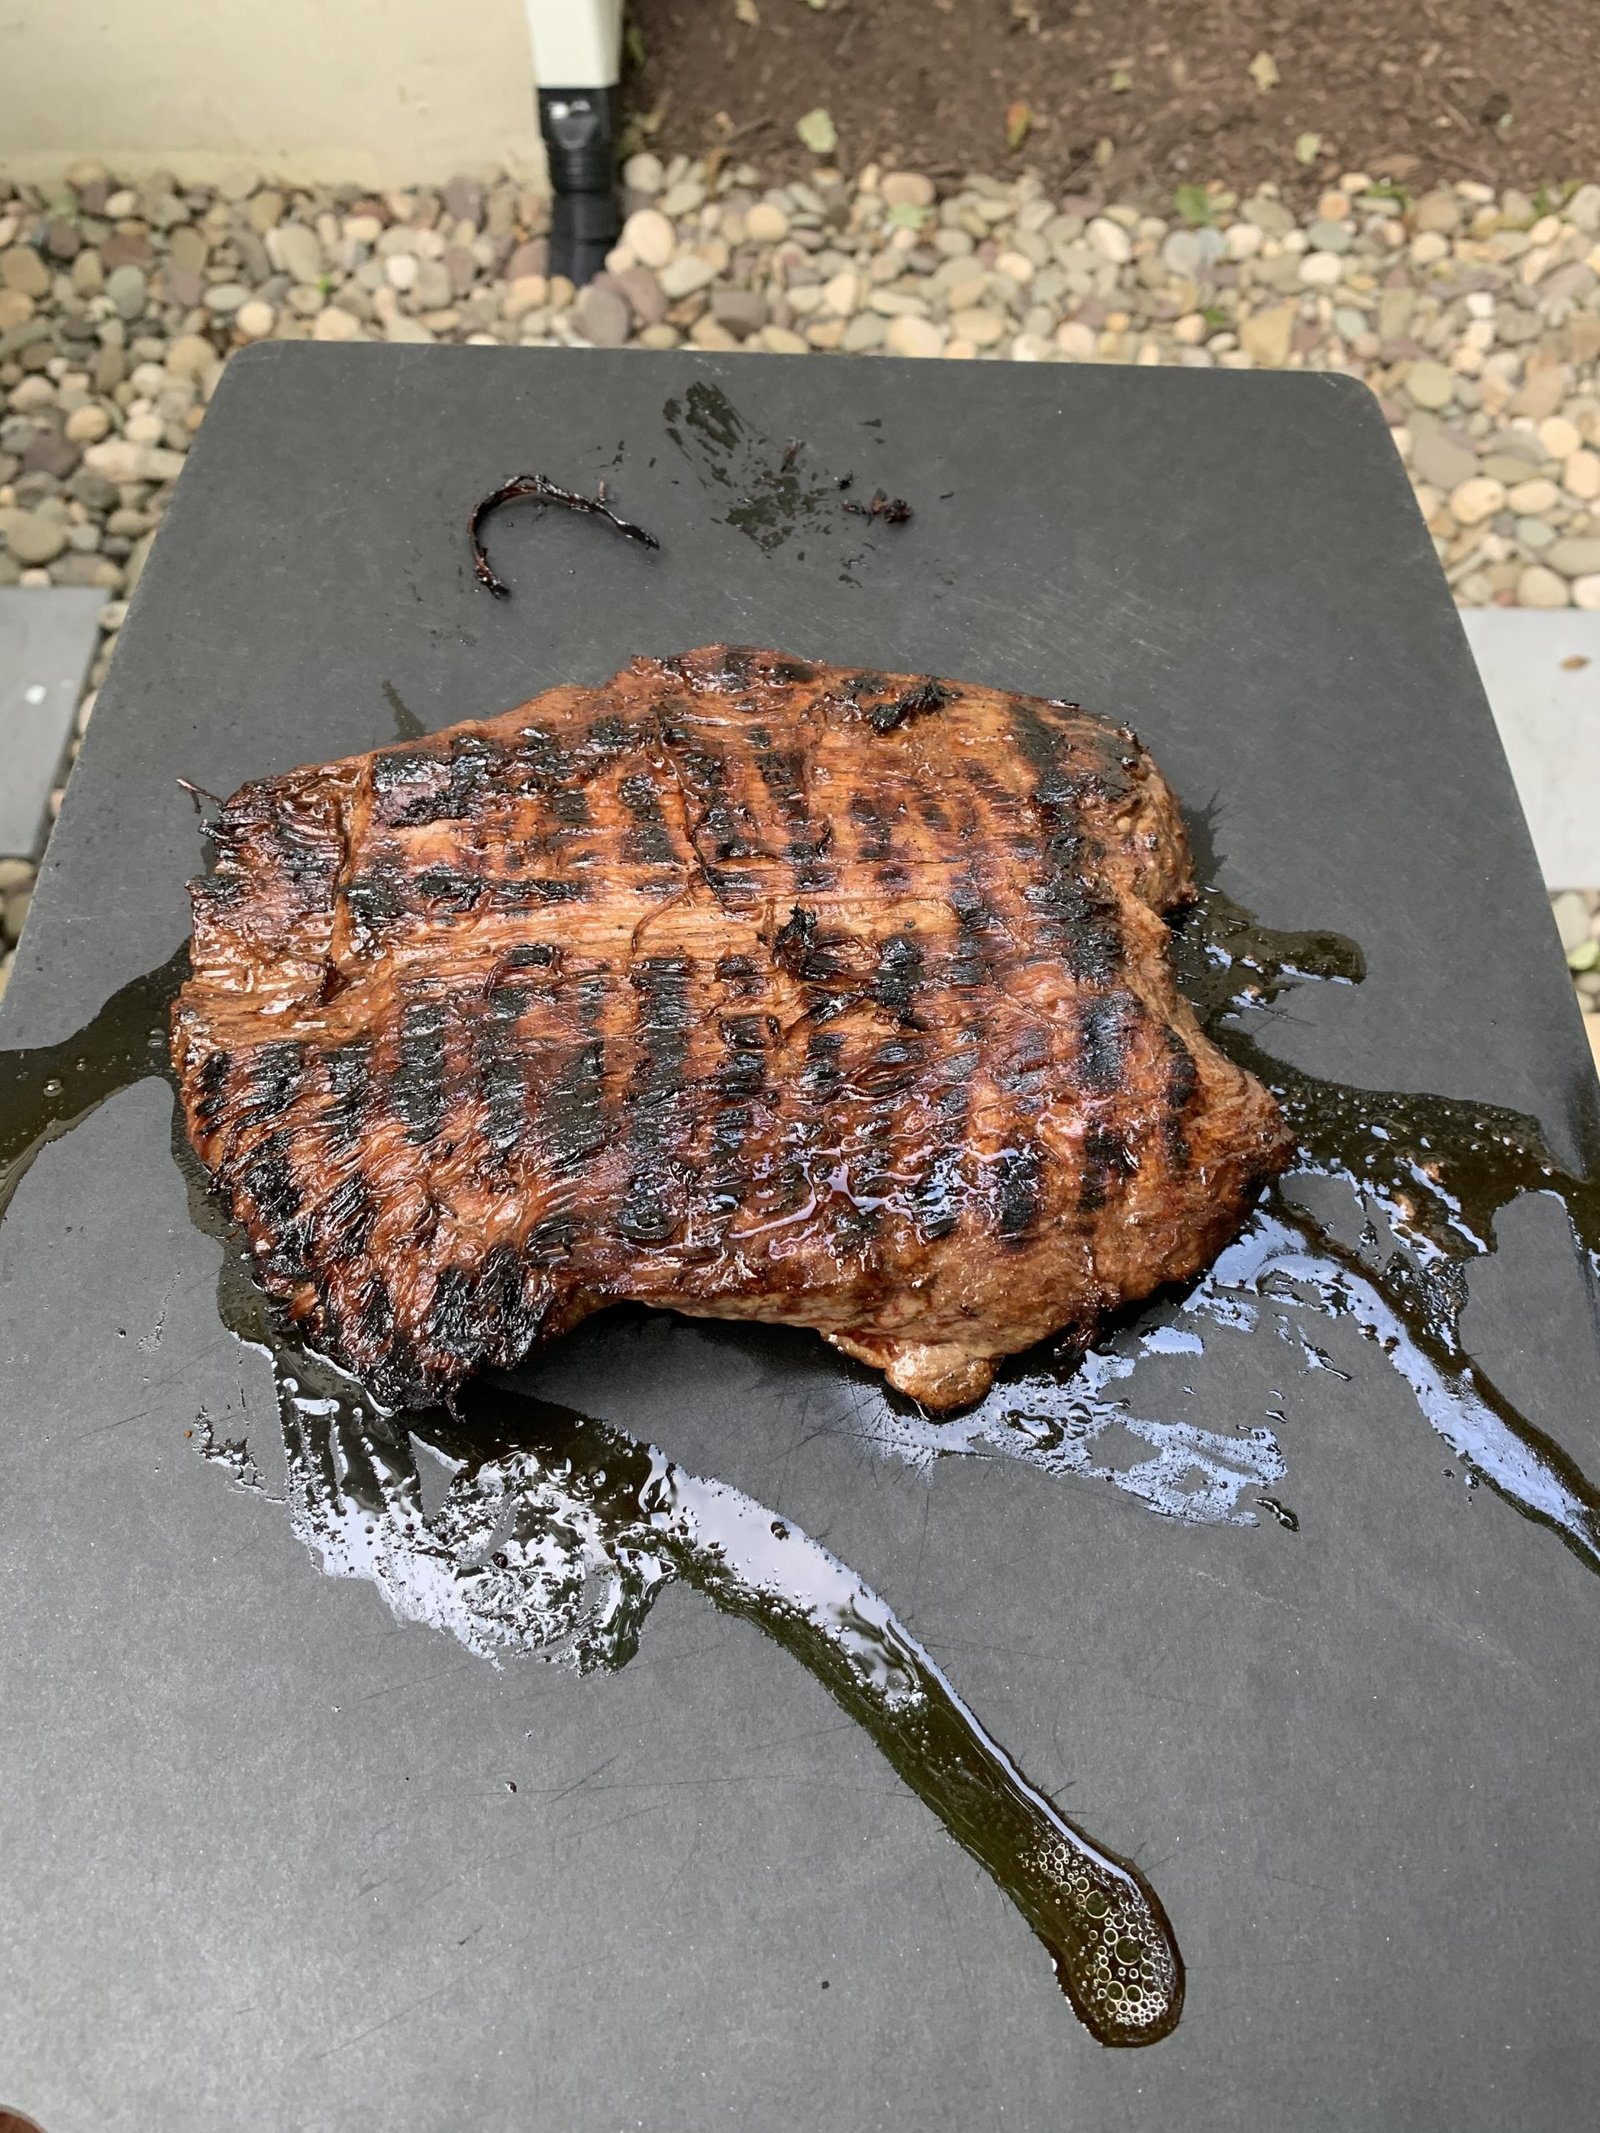
STEP 7 – Admire the beauty, let it sit
This is a real piece of advice I’m giving here. Don’t just go cutting the thing open right away. Let it sit for 5 or 10 minutes. Perhaps just long enough that you have time to polish off another double ipa from start to finish.
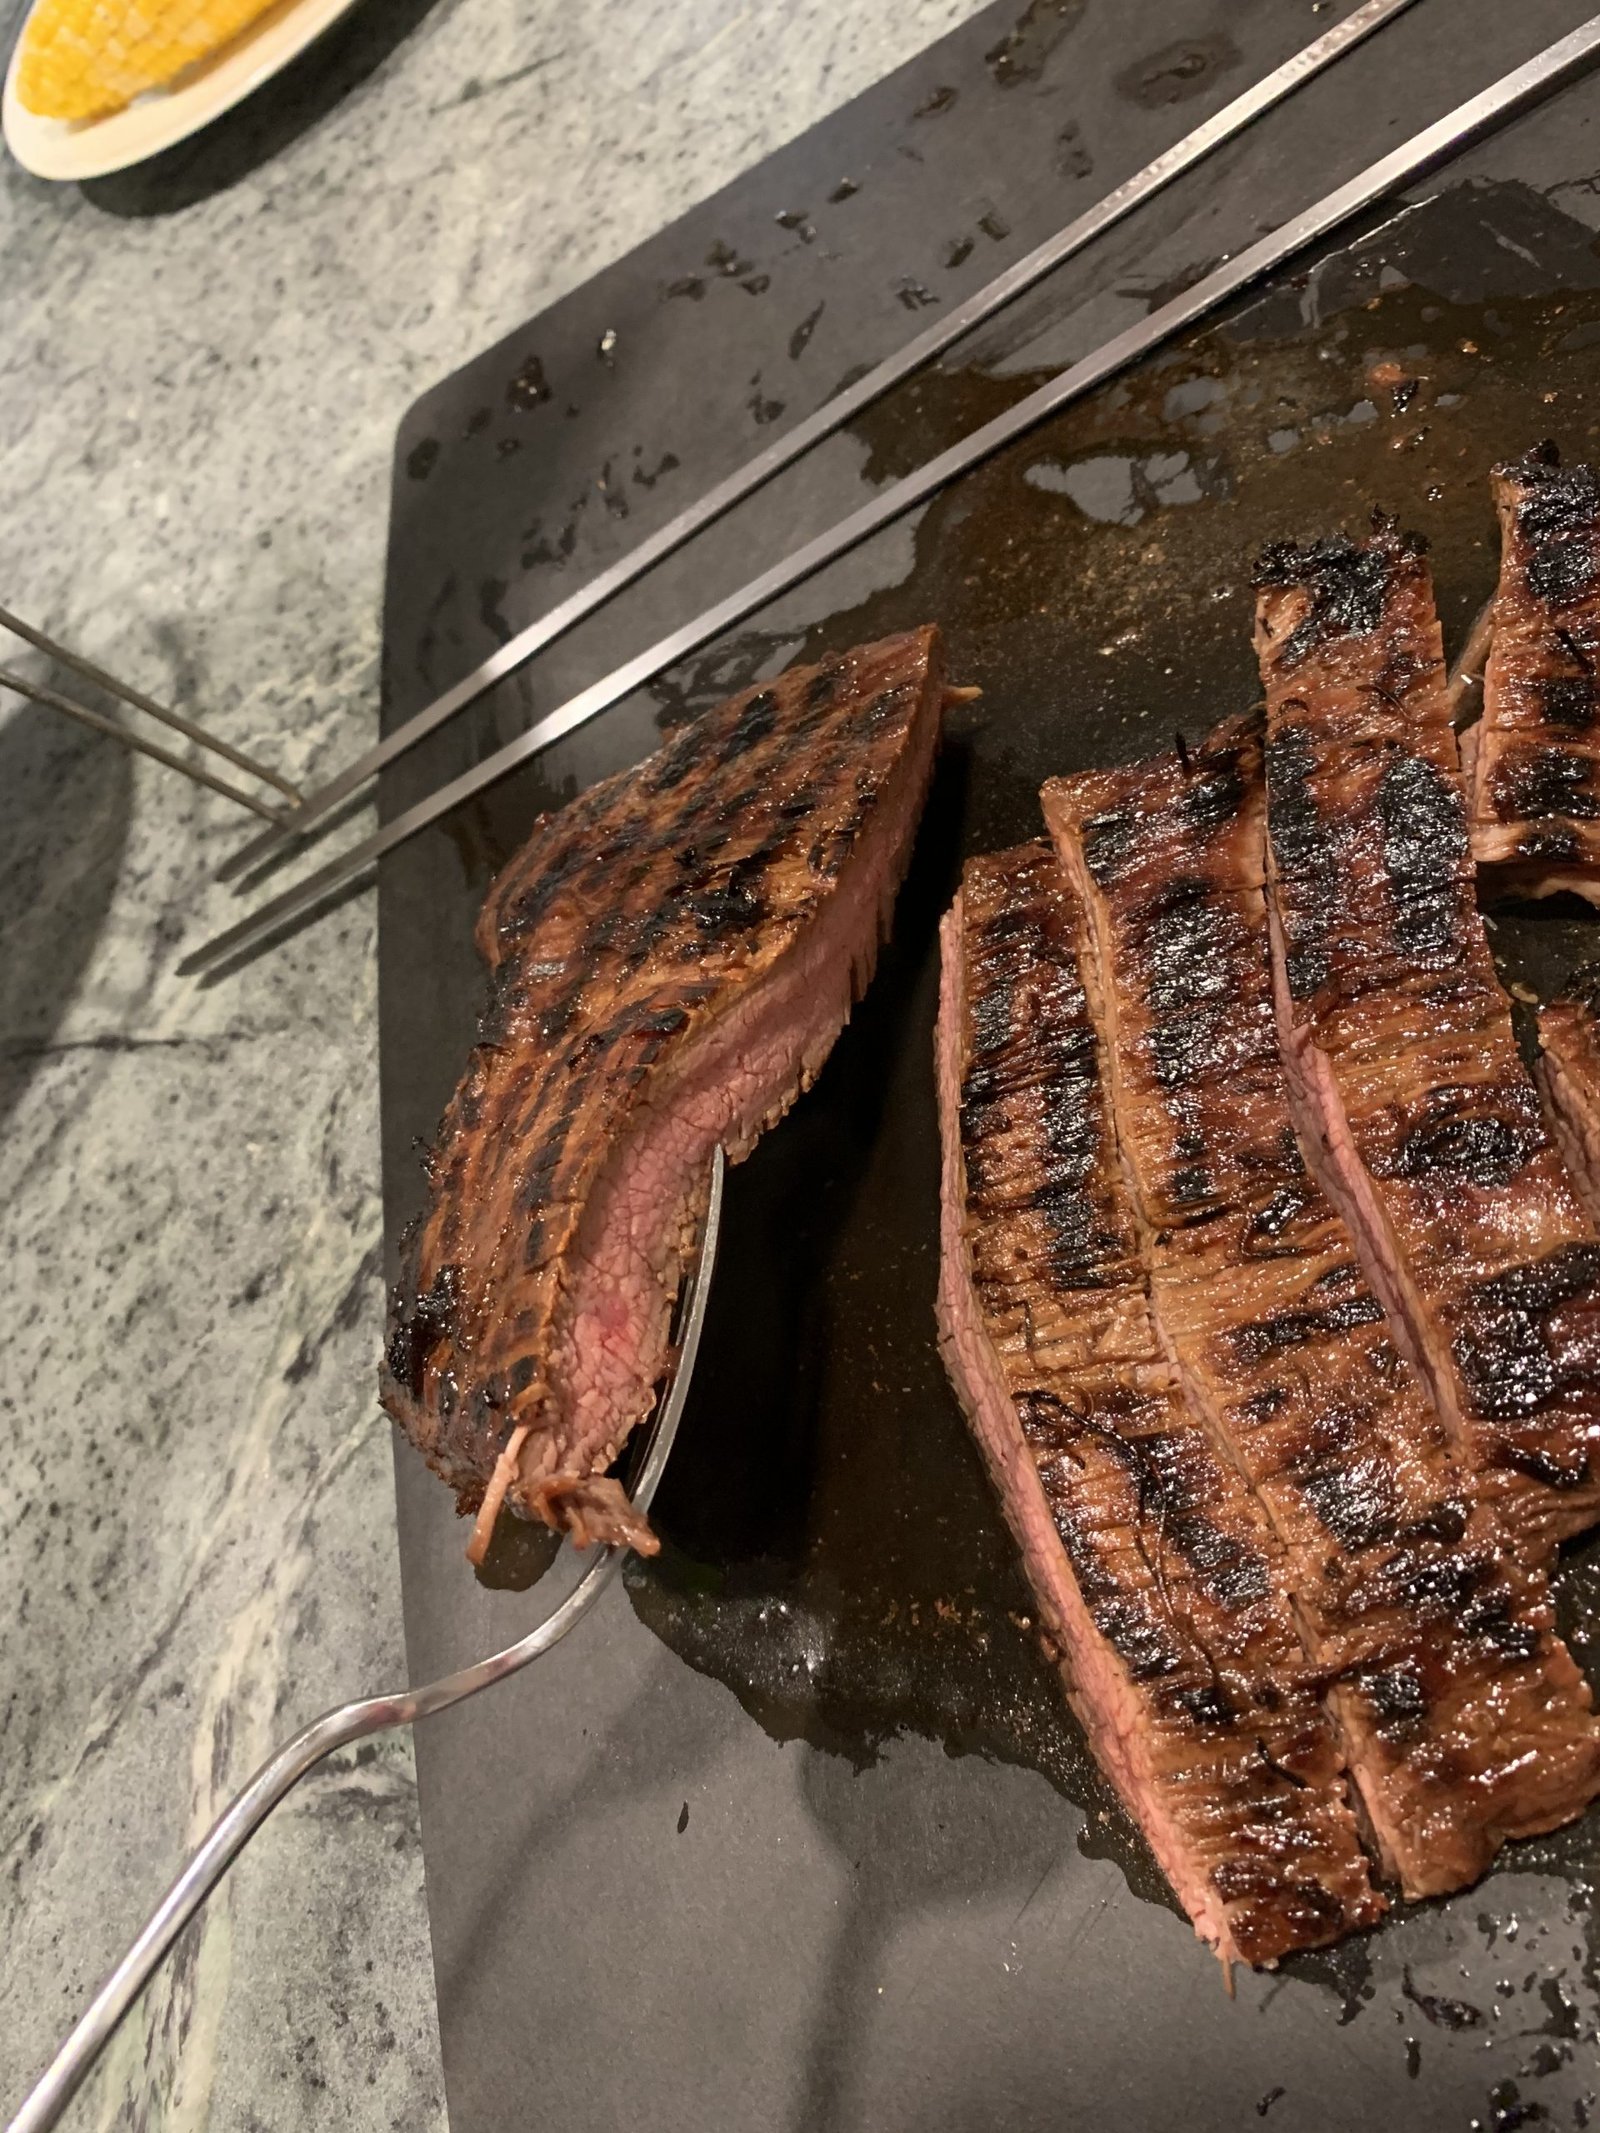
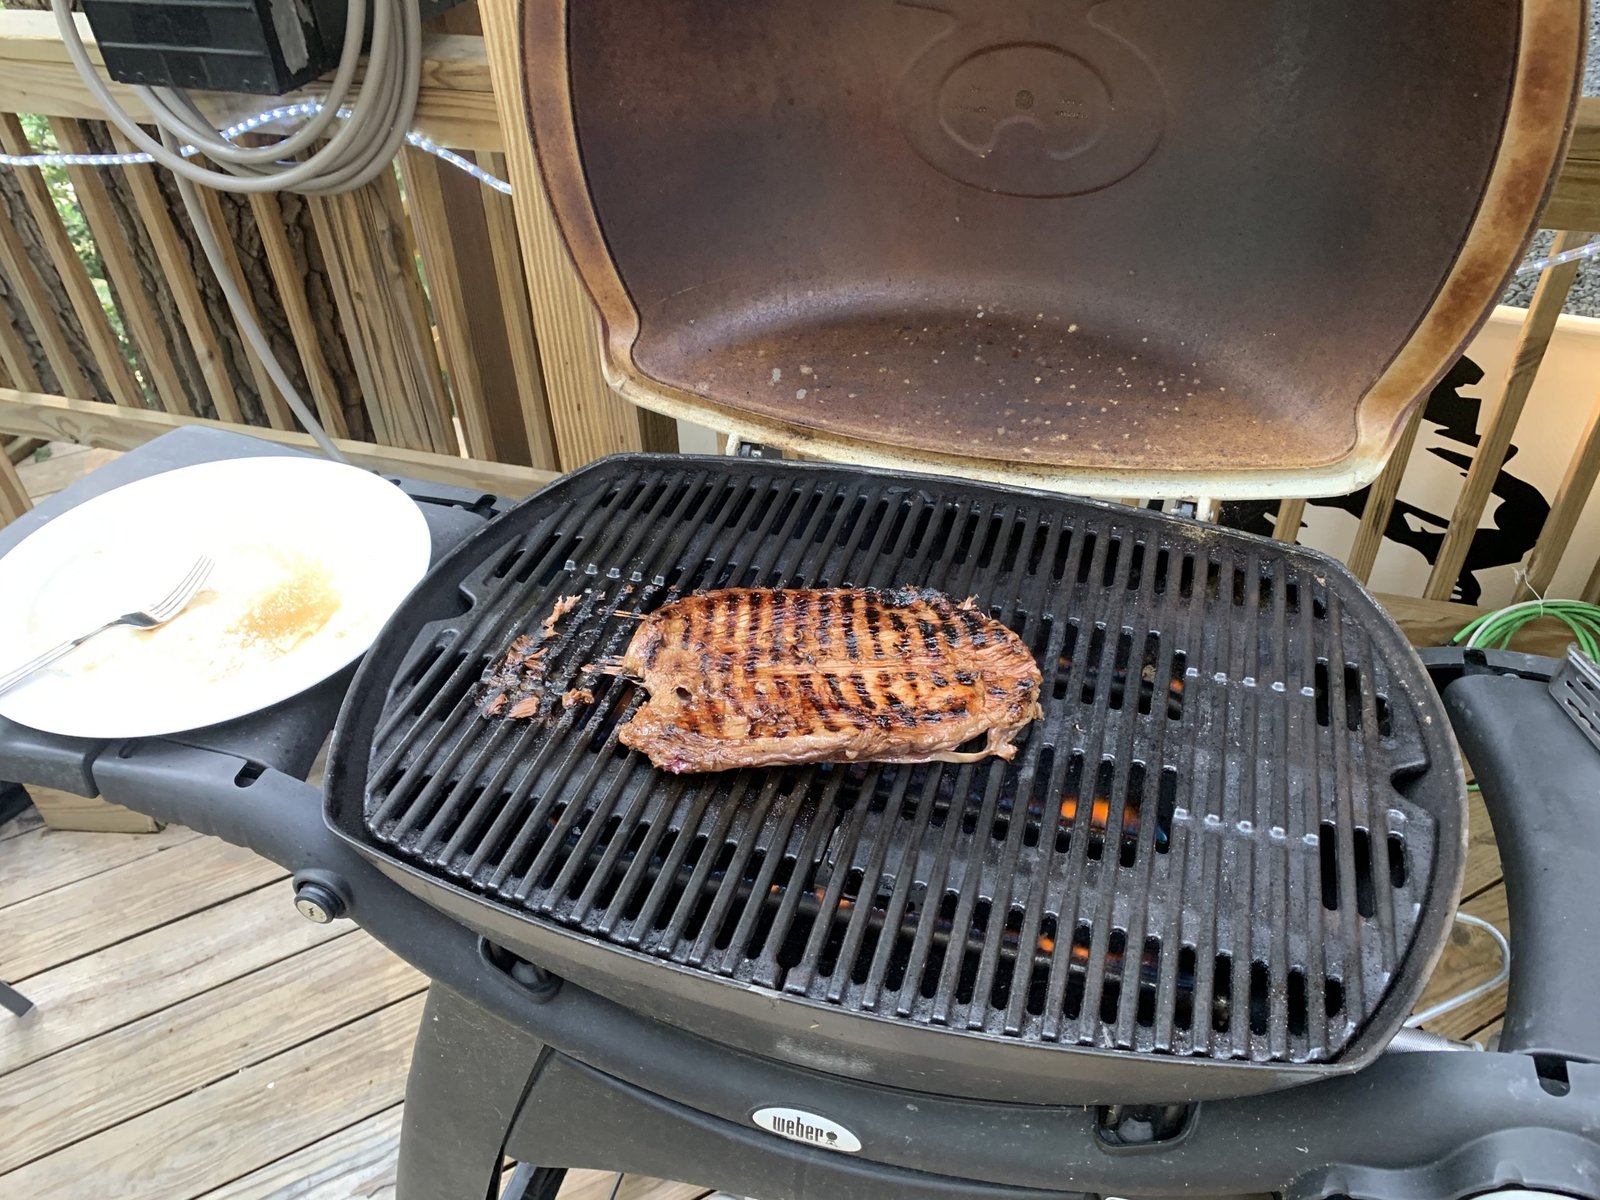
STEP 8 – Slice it open
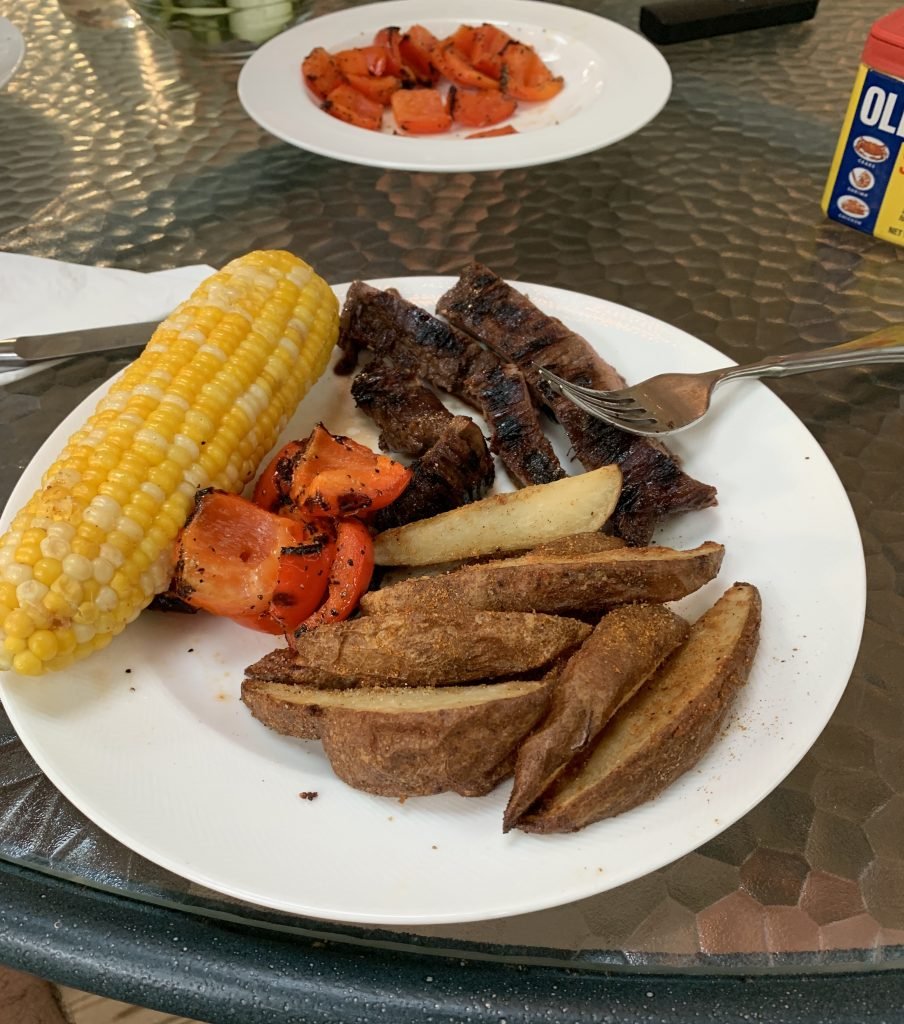
I’m pretty sure this is a flank steak. Not sure if it applies to every type of cut but one thing I will say is I believe you should cut it on an angle rather than 90 degrees vertical. Someone once told me that, but again it’s probably one of those things that makes no difference.
The only thing you REALLY need to be concerned with at this point is whether any of the steak still looks raw. If it does, then just pop it back on the grill for some more cooking phase. I promise you this has happened to me before and to my surprise the steak still tasted great after round number two on the grill.
STEP 9 – Live it up
Life is too short. Sit back and rip some pops while you enjoy your well-earned meal. You deserve it. If you somehow managed to ruin the steak, which I highly doubt you did, call up your favorite local pizza place and get yourself a large pepperoni pie. You’ll get em next time.
PS – before any of you tough guys send me a text saying “nice well done steak bro” let me say this. Nothing about eating a rare steak makes you more of a man. I pretty much always ordered my steak medium rare until I got sent out something that looked like gelatin a couple years ago. After that I started ordering medium and it’s actually been a blessing in disguise. Same taste and you don’t spend most of your dinner chewing on fat. Food for thought.